What is Hosting?
When we talk about web hosting, we are referring to a plan that reserves space on networked equipment. Our most popular web hosting plan to date is the Cpanel Economy plan. Why? It includes tools elite coders use to deploy web sites and it includes email accounts! The economy plan offers the ability to host more than one website. With so many hosting solutions, it can be confusing as to what you are supposed to do after you pay for a plan. The first thing that happens is you get an email with some login details and a summary of your purchase. With Elite Hosting USA, you’ll get information on logging into your custom dashboard that houses all of your products. The Dashboard looks something like the one below.
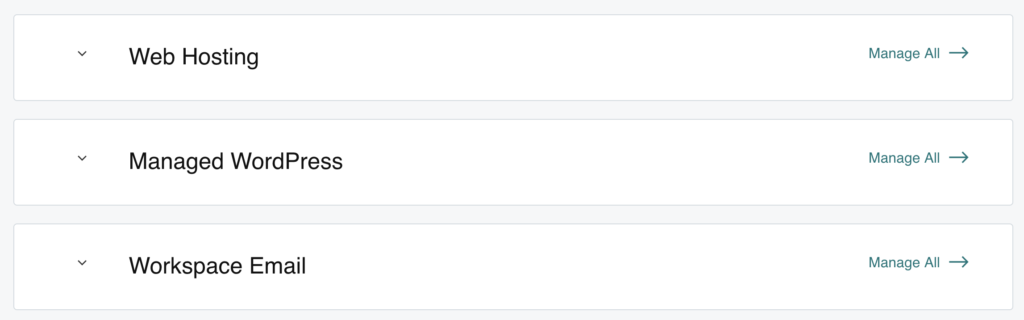
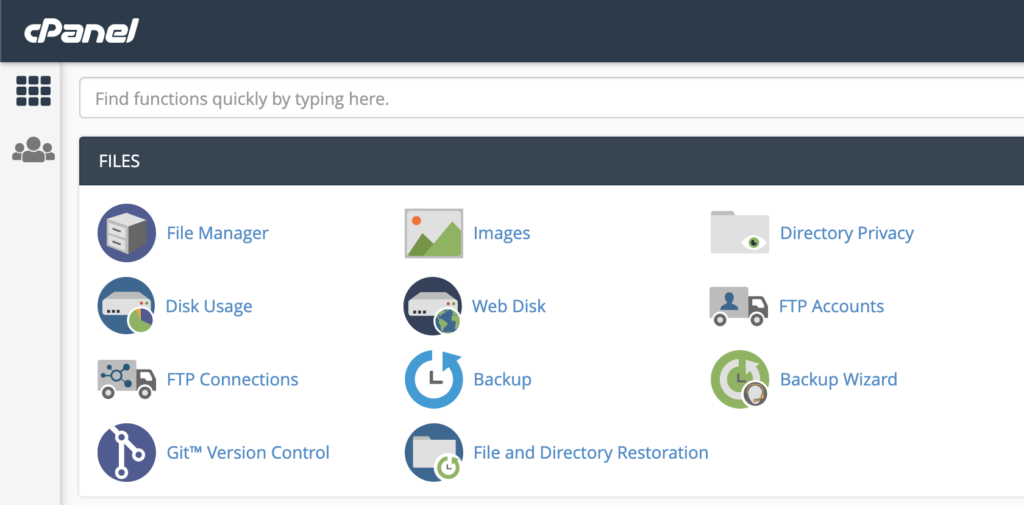
The dashboard above shows an account that has Web Hosting, a Managed WordPress plan, and Single Email accounts. If you purchase a shared Linux Cpanel plan, you’ll just see the Web Hosting option. The next step is to click Manage all to see the option that says setup. You’ll be asked to provide a domain name. The domain name does not have to be hosted with us but you should own one. The domain you enter will serve as your primary domain for your CPanel account. You’ll be redirected to your web hosting dashboard. Click the cPanel Admin button at the top right. You’ll be automatically logged-into cPanel and it looks like this.
Installing Applications
What you do from here depends largely on what you are intending to create. cPanel is so powerful and offers one-click solutions with the Economy plan and higher. We usually recommend creating a few email accounts for your domains. Please note that unless your Nameservers or MX records are pointed to us, your email will not work. If you bought a domain from us then you’re all set. For our website, we want to create an unmanaged WordPress site. Unmanaged means that we are going to install it ourselves instead of buying a WordPress plan that does it for us, we offer those too! Scroll down to the applications section.
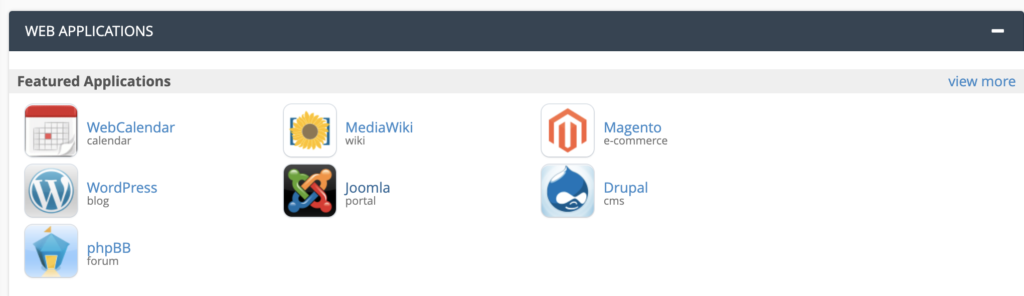
Click on WordPress and look for the “Install this Application” button at the top right.
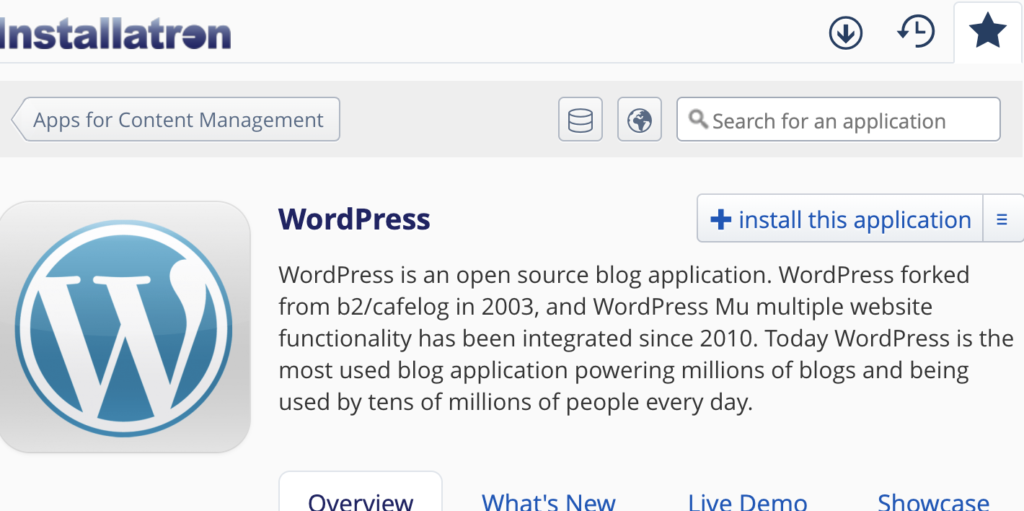
You’ll need to fill out some information such as your domain name and directory. If you leave the directory blank, WordPress will be installed in the default directory, meaning you’ll see it when you type your domain in the address bar. You can type in a directory name, such as blog, and WordPress will be installed there. Do this if you intend to have your main site as store front and want the blog to reside at yourdomain.com/Blog. Take note of any emails, passwords, and usernames provided to you on the installation screen. Clicking install will send an email to your specified account with login details to get started on your WordPress site.
What’s Next?
Once you develop your perfect site, You’ll want to either buy a domain, point a domain you own to our nameservers, or point your domain’s A record to your shared IP. If you bought a domain from us then you won’t have to do anything. Pull up your domain in your browser and admire your handy work. If you would like to purchase a domain from us, we do that too! You can do so here. If you domain is hosted elsewhere, it is usually best practice to get a website up and running before flipping the switch to your new hosting. When ready, have your current host or domain registrar point your domain’s nameservers to ours. This can be located in your welcome email when you purchase hosting from us. Having issues? No problem. That’s what we’re here for! We are available 24/7 by phone, email (support@elitehostingusa.com), and twitter (@usa_hosting).