You hear the phrase “Everyone has a voice”. With so many ways to communicate, it’s easy to get your ideas, views, and products out in the public view. Today we are going to show you just how easy it is to get a blog up and running in 10 minutes flat. To make the most out of this tutorial, you’re going to need a domain, though it is not a requirement. The only requirement is having a WordPress host. We recommend a WordPress host that offers one-click deployments, secure logins, free daily backups, and daily malware scans. We’ve got you covered on that front. The first step is to head over to our Services page and pick up a place to store your website. Already have WordPress? Then on to the next step!
If you pick up WordPress hosting from Elite Hosting USA then logging in is a matter of going to your Elite dashboard and clicking on Manage under Managed WordPress heading. If you have never logged in before then you will see setup instead of manage. Once the setup is complete you’ll be looking at your WordPress management dashboard. So what do we do first!?

If you clicked managed under managed WordPress then you will be looking at the menu shown above. Choosing a theme and adding a custom header image is the easiest way to get personalization on your site. Select the “Edit your website design” from your menu and you’ll be logged into the customizer. Select Site Identity from the left side and give it a sweet name! You can also upload a logo from this page. Next, click publish. Done! If you use another WordPress host or you log directly into your WordPress dashboard, you can get to the customizer by clicking Appearance and selecting Customize.
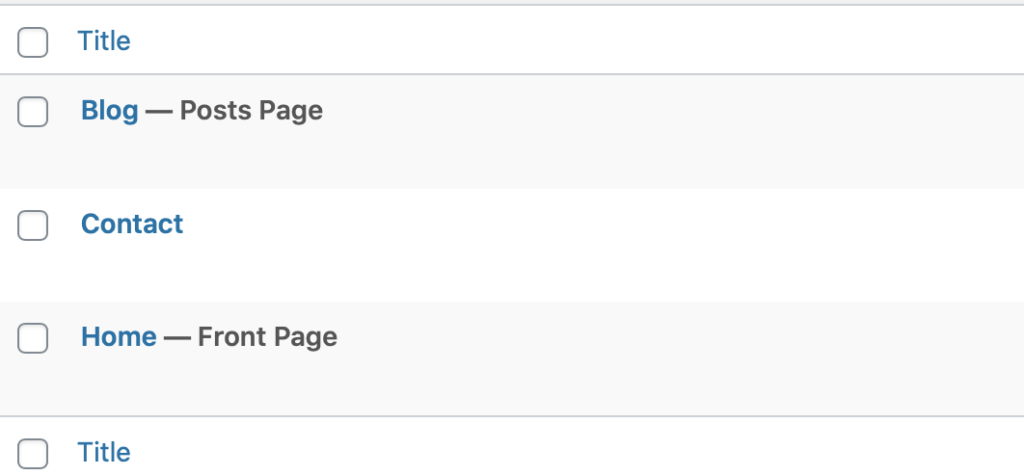
You got hosting, you changed the header information that displays at the top of your website, but it lacks depth. No problem. In WordPress, blogging operates with two main features, Posts

Clicking on each page will allow you make changes to the wording and visuals of your website. Hover over Home, select Edit, and really make that page yours. Once on the edit screen, from the right side menu, select Document and find your feature image. A feature image is the image that appears at the top of the page. Each theme is different so you may need to try a few sizing variations to get the look you are going for. You can use preview at the top to see what the page will look like before you publish it.
Posts, like this one, is where you can really tell the world what you want to convey. To do so, go to your main WordPress dashboard and select Posts. When you create a post it shows up on your blog page automatically. It works just like a page and you can add feature images specific to each post.
That’s it! We got WordPress hosting, logged in, went to customize and change our site identity, edited our home page, and created a post. That’s all there was to it! Feeling overwhelmed? We have fantastic support via email: [email protected] and twitter @usa_hosting. We can get you squared away!
Want to learn more about WordPress? Check out WordPress.org