We completed these steps in 30 minutes
This guide is meant to provide an easy to follow set of instructions on setting up your newly purchased Windows VPS to use as a Rfactor 2 dedicated server. For this demonstration, we used the smaller 2 core 4GB Windows VPS and the steamCMD instructions located here: Rfactor 2 Server Guide
Pick a Server and set it up
Step 1: Purchase hosting! We offer plans that were handpicked by our very own Rfactor server expert. You can choose a plan by clicking here.
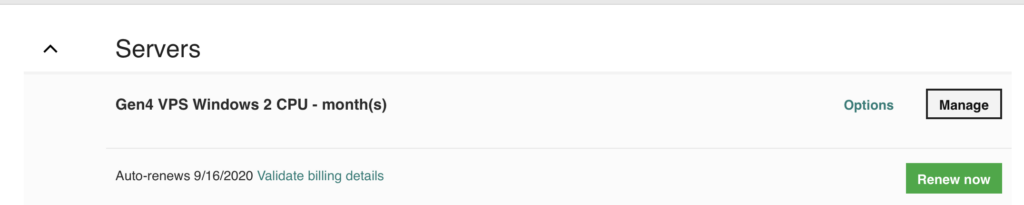
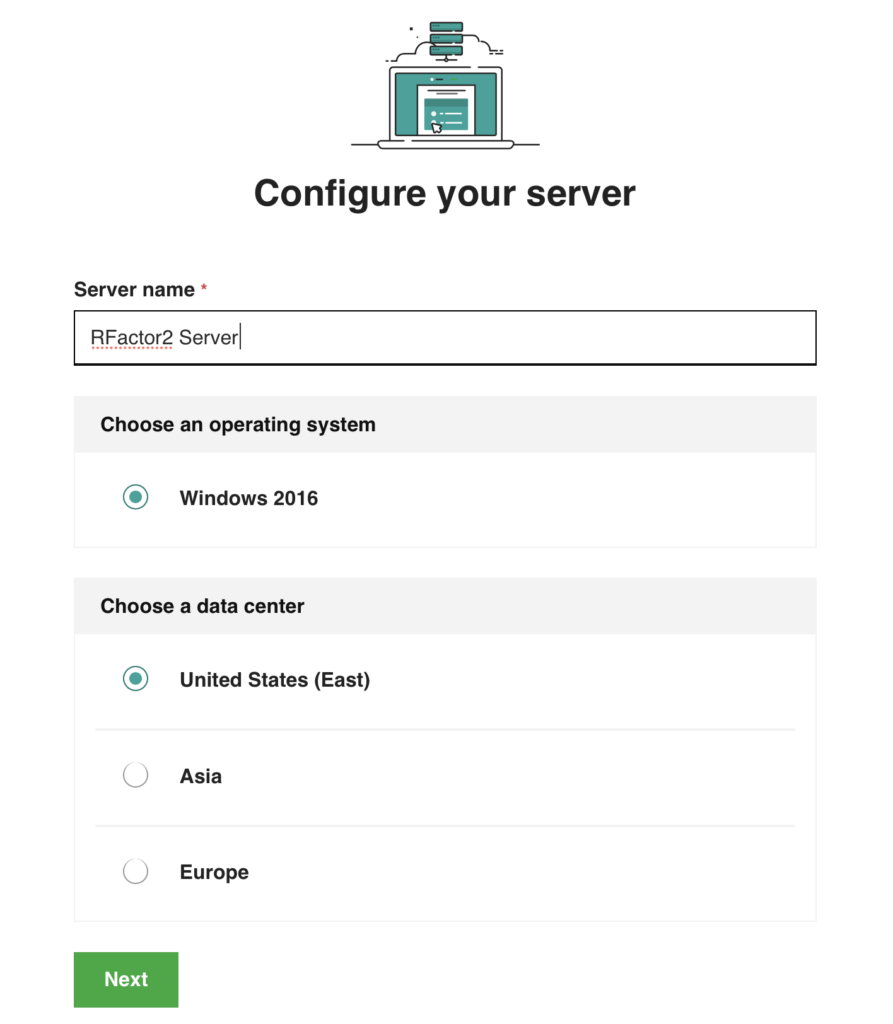
Step 2: Setup up your hosting by logging into your dashboard, using the link in the welcome email. We have included pictures below to walk you through this process.
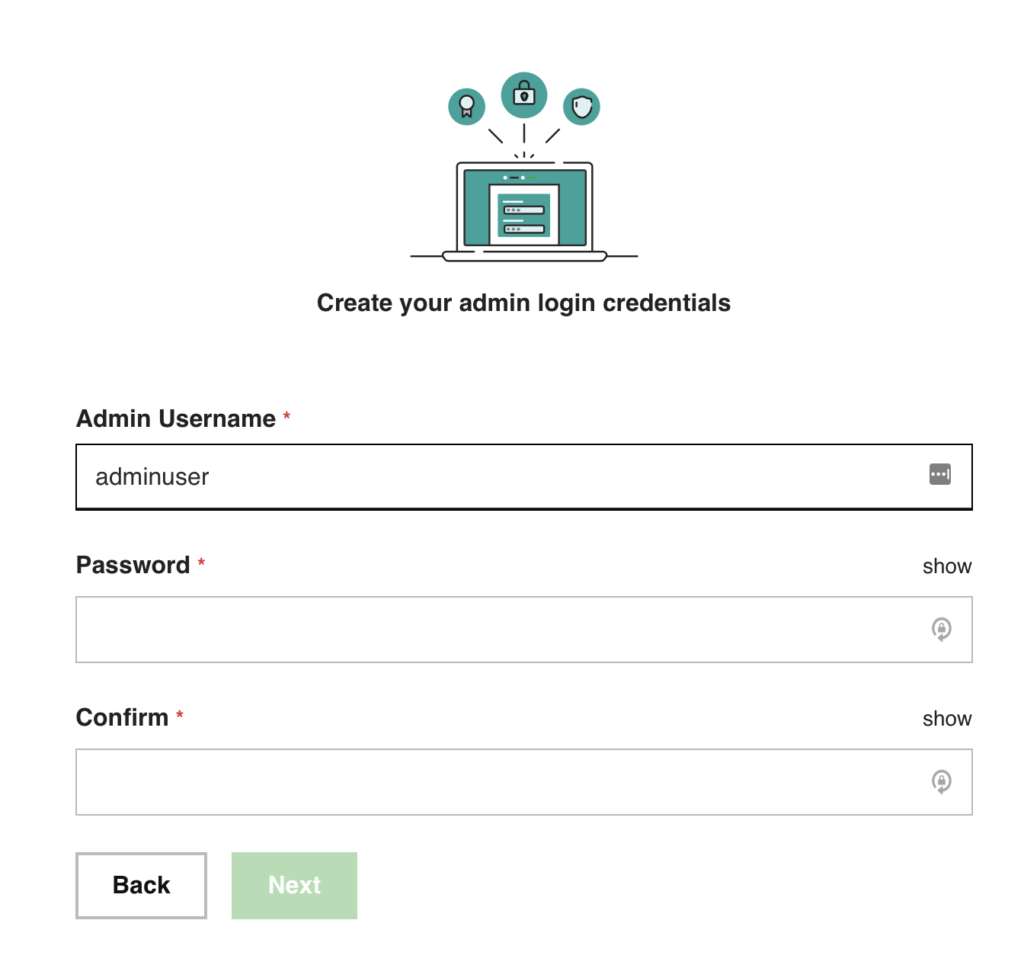
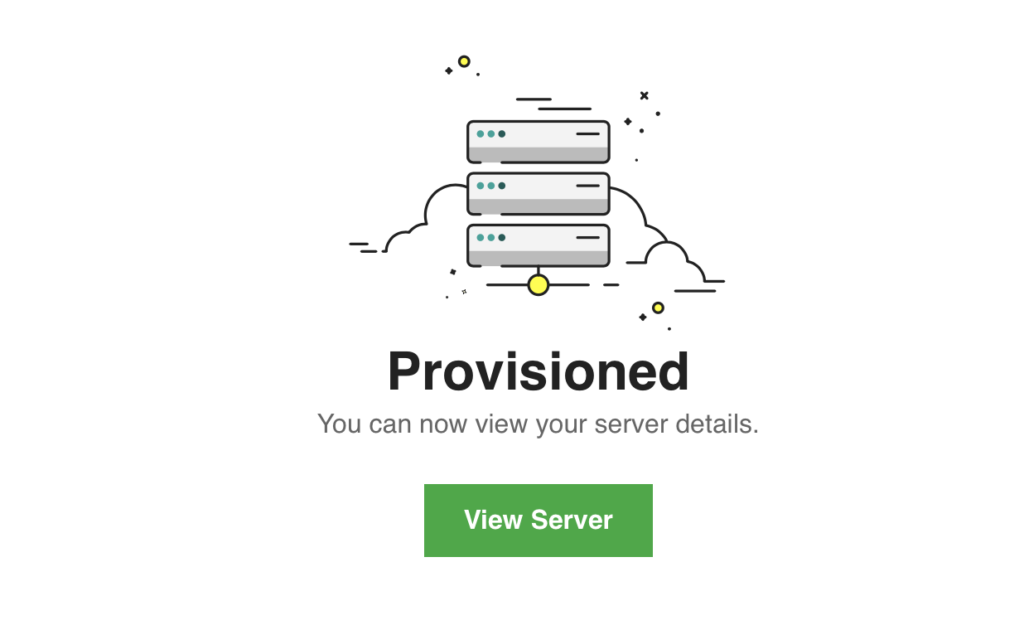
Step 3: After setting up your server, you will see an IP address when you click “View Server”. You can use the recovery console from your browser OR you can use Remote Desktop Protocol software (such as RDP on Windows 10) to remotely connect to your machine using the admin user account you specified in the above steps. In our example, we used RDP included with Windows 10 Pro.

Install Rfactor 2 Dedicated Server
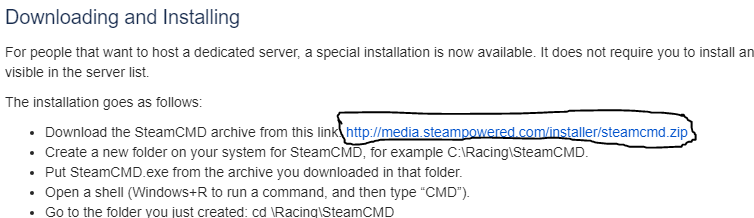
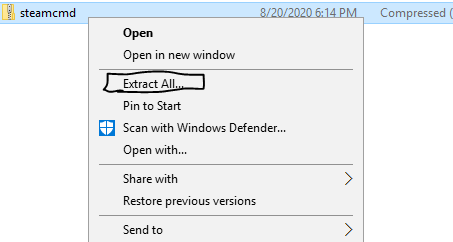
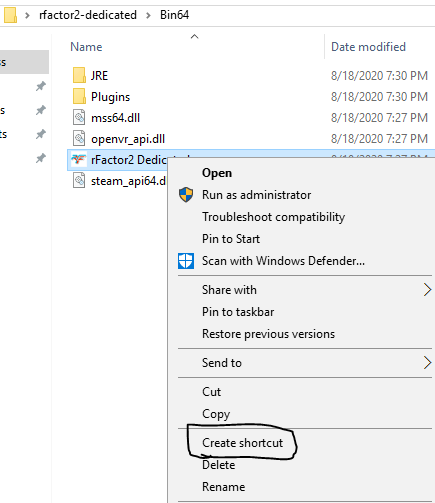
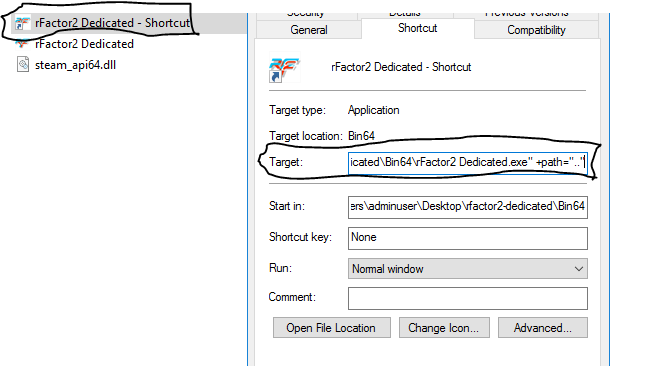
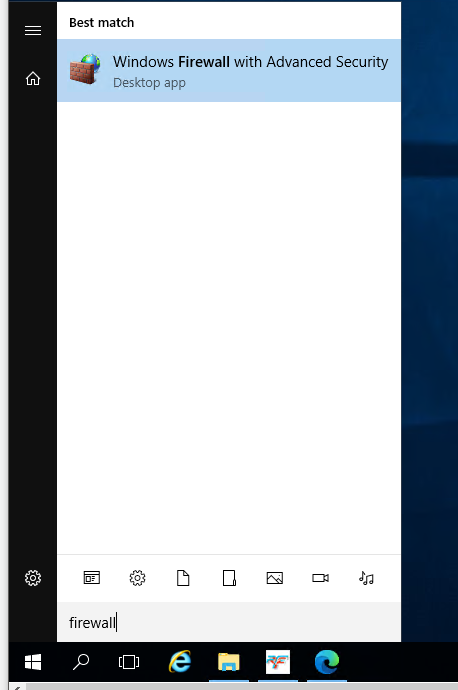
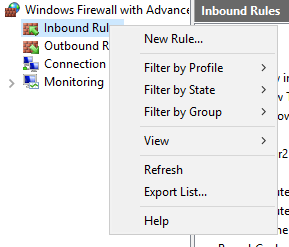
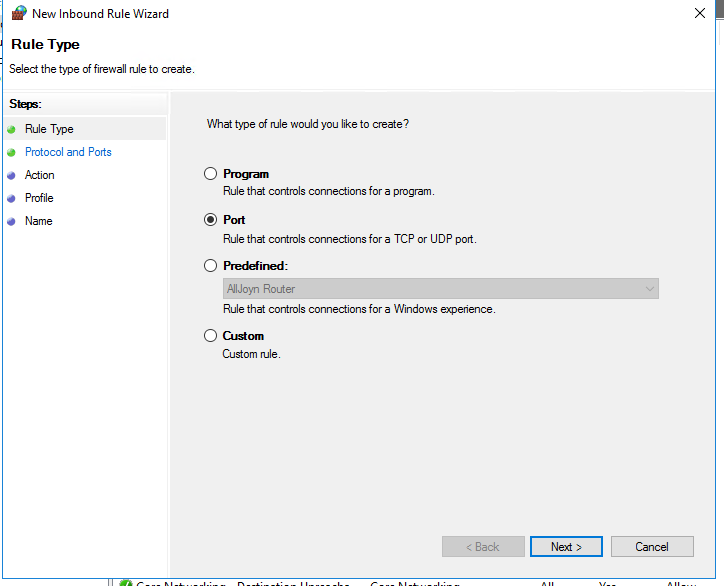
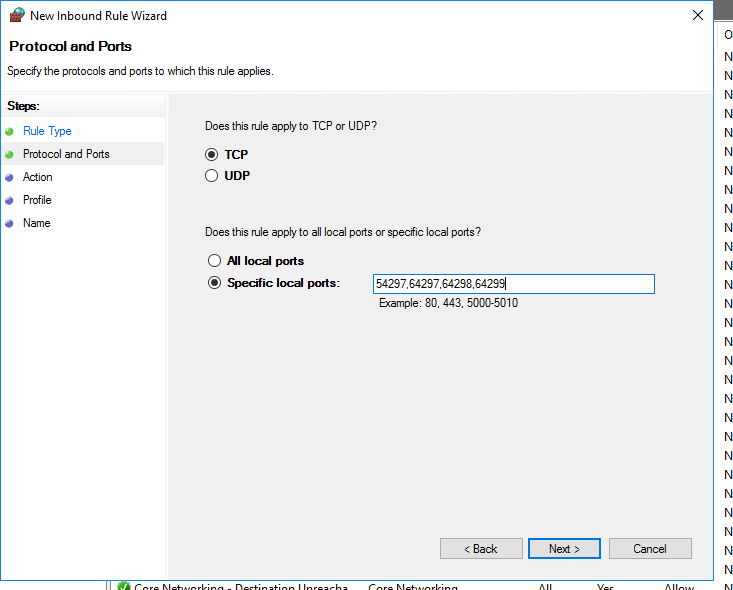
Step 1: Install and run the Rfactor 2 dedicated server software. NOTE: As part of the install steps, you will be required to open ports in the Windows Firewall. Please note that the rules must include both TCP and UDP rules, or your server will not appear on the steam list. The instructions we used are found here: Rfactor 2 Server Guide, our screenshots of the steps we took are below. For time’s sake, we only show the installation of the software and adding ports to the Firewall. Before you can start the server, you will need to download tracks and vehicles and install them with the Mod Manager.
Install Packages and Create your Mod
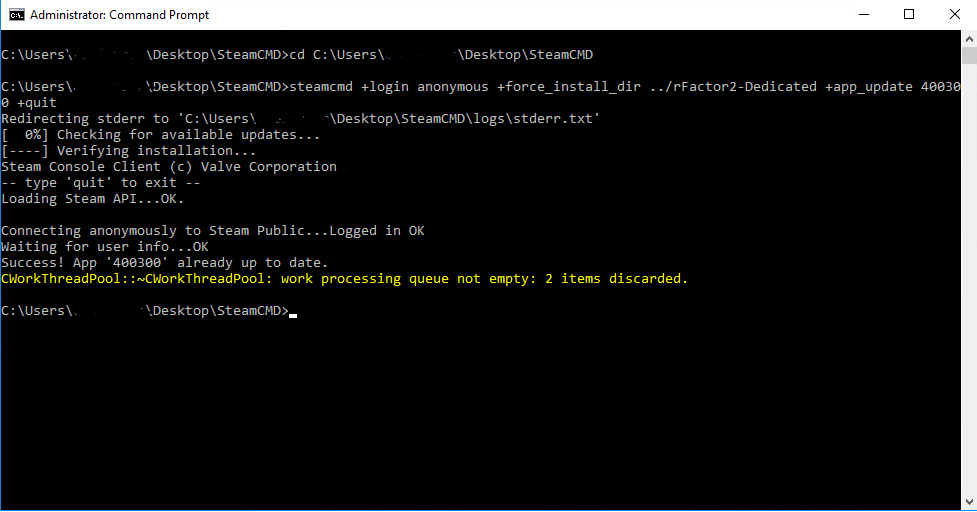
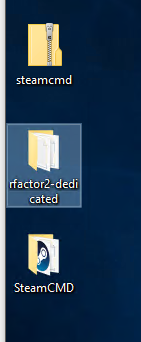
After creating firewall rules, you are ready to install packages and make your RFM that’s required to run a server. While that is beyond the scope of this guide, there are a lot of resources on the internet. We use SteamCMD to download tracks and car sets, then we use mod manager in the Bin32 folder to install them. After that, we use the MAS editor to create mods and install them!
Now get out there and get racing!